Truckstop Integration Guide
Connect Salesforce with Truckstop.com to search, post, and manage loads directly from your Load and Fleet views.
Overview
Truckstop is one of the largest digital freight marketplaces for brokers and 3PLs. By integrating Truckstop with FTM, you can:
- Search available loads in real-time
- Post loads directly from Salesforce
- Convert Truckstop quotes into FTM Loads or Lane Quotes
- Manage posted loads without leaving Salesforce
- Eliminate repetitive data entry
This guide covers the complete setup, usage, and field mappings needed to integrate Truckstop with Salesforce via FTM.
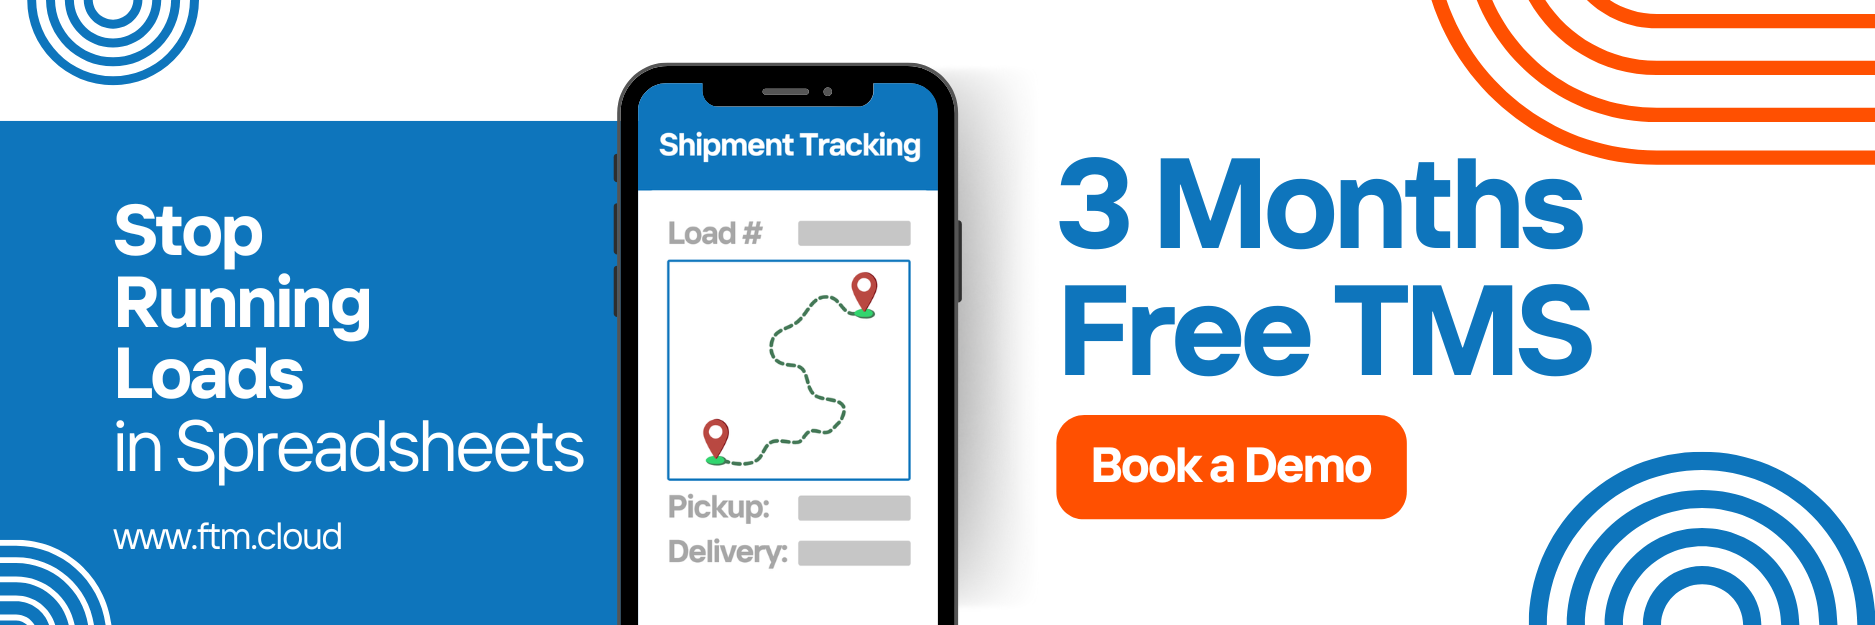
Truckstop Usage
Where you’ll use Truckstop in FTM
You’ll see Truckstop available inside your Load view and Fleet view, so you can work the marketplace without leaving Salesforce.
A) Log in inside FTM
- Open the Truckstop Login section (it appears in your Load or Fleet view after the integration setup).
- Enter your Truckstop username and password.
- (Optional) Enable auto-fill for your default posting phone and email.
- Make sure the format matches Truckstop requirements, otherwise posting can be rejected.
- Make sure the format matches Truckstop requirements, otherwise posting can be rejected.
B) Search loads in real time
Use Truckstop in FTM to search available loads in real-time directly from Salesforce.
C) Post loads from Salesforce
You can post loads directly from Salesforce through FTM (no retyping the same load details into Truckstop).
D) Convert Truckstop quotes into FTM records
When you receive responses in Truckstop, you can convert quotes into:
- an FTM Load, or
- a Lane Quote (so you can reuse pricing later).
E) Manage posted loads
You can manage posted loads without leaving Salesforce.
Note: FTM does not sync status from Truckstop. If you make changes in Truckstop after posting, manage those status updates in Truckstop.
Quick troubleshooting from the FAQ
- If you don’t see confirmation after posting, it may be due to invalid input (example given: missing city/state or trailer type).
What You’ll Need
Before starting the integration, make sure you have:
- Active Truckstop login credentials (Username and Password)
- API credentials (If needed for advanced features)
- Your preferred default phone number and email for posting
- Salesforce Admin access to configure Named Credentials and related settings
Setup Instructions
1. Create a Truckstop Posting Account
Ensure your company has an active Truckstop account with API access enabled.
- If you’re unsure about your account’s status, reach out to your Truckstop account manager or visit truckstop.com.
- Make sure API access is enabled and you have the necessary credentials to connect via the API.
2. Configure Login & Credentials
Once your Truckstop account is active, you’ll need to configure login credentials inside FTM:
- Navigate to the Truckstop Login section (this will be found in your Load or Fleet view after setting up the integration).
- Enter your Truckstop username and password (these will be saved securely in Salesforce).
- Optionally, enable auto-fill for your preferred contact phone and email.
Note: Ensure your contact phone and email follow Truckstop’s format. Invalid formats will cause Truckstop to reject the post.
3. Enable API Access
Setup Named Credentials in Salesforce
- Go to Setup → Named Credentials
- Click New Named Credential and enter the following details:
| Field | Value |
| Label | Truckstop_Integration |
| Name | Truckstop_Integration_Credentials |
| URL | https://api.truckstop.com |
| Authentication | OAuth 2.0 |
| Auth. Provider | Select the Auth Provider you will configure in step 4 (this will handle API authentication). |
| Scope | full |
This Named Credential will allow FTM to authenticate with Truckstop securely via OAuth 2.0.
4. Configure Auth Provider
- Go to Setup → Auth. Providers
- Click New to create a new OAuth 2.0 Auth Provider for Truckstop.
- Enter the following details:
| Field | Value |
| Provider Type | Custom |
| Name | Truckstop_Auth |
| Consumer Key | Your Truckstop API Key |
| Consumer Secret | Your Truckstop API Secret |
| Authorize Endpoint URL | https://api.truckstop.com/oauth2/authorize |
| Token Endpoint URL | https://api.truckstop.com/oauth2/token |
This will allow Salesforce to authenticate and obtain a Bearer Token for API requests.
5. Create a Visualforce Page + Button for Posting Loads
Now that your Named Credentials and Auth Provider are configured, you need a Visualforce Page and button for users to post loads directly from the Load view.
Visualforce Page Code
<apex:page standardController="FreightTM__Load__c">
    <button onclick="postToTruckstop()">Post Load to Truckstop</button>
    <script>
        function postToTruckstop() {
            Apex.controller.postToTruckstop();  // Call the Apex method for posting load to Truckstop
        }
    </script>
</apex:page>
This Visualforce page will be used to post the load to Truckstop. It includes a button that triggers the Apex method to handle the posting.
Apex Controller Code
public class TruckstopIntegration {
    public void postToTruckstop(FreightTM__Load__c load) {
        HttpRequest req = new HttpRequest();
        req.setEndpoint('callout:Truckstop_Integration_Credentials/submit');  // Use Named Credential here
        req.setMethod('POST');
        req.setHeader('Content-Type', 'application/json');
        req.setBody(JSON.serialize(load));  // Send load data as JSON

        Http http = new Http();
        HttpResponse res = http.send(req);

        // Handle response from Truckstop
        if (res.getStatusCode() == 200) {
            System.debug('Load posted successfully!');
        } else {
            System.debug('Error posting load: ' + res.getBody());
        }
    }
}
This Apex class uses the Named Credential you created to send the load data to Truckstop’s API. If the load is posted successfully, it will return a confirmation message; otherwise, it will log an error.
6. Field Mappings
| FTM Field | Truckstop Field | Notes |
| Pickup Location | Origin | City + State required |
| Delivery Location | Destination | City + State required |
| Required Trailer | Equipment Type | Maps to Truckstop codes |
| Load Type | Full/Partial | Mapped internally by FTM |
| Length (ft) | Total Footage | Optional, but improves visibility |
| Rate / Total | Rate | Posted as brokered rate |
| Comments | Special Instructions | Optional, visible to carriers |
7. Testing and Feedback
- Sample loads have been created in your test environment for initial testing.
- After submitting test data, check the response in FTM and Truckstop. You should see whether the load was successfully posted and receive any error feedback.
FAQs
- Can I use one phone/email for all postings?
Yes! Just set your Truckstop account’s default contact details in the account settings. This ensures all activity is routed to your ops team.
- Will this integration affect other settings in Salesforce?
No. FTM handles the integration fields independently, so existing system settings remain safe.
- What if I don’t see a confirmation after posting a load?
If Truckstop receives invalid input (e.g., missing city/state or trailer type), the post may silently fail. Always confirm required fields are populated correctly.
- Does FTM sync status from Truckstop?
No. Load status updates must be managed directly in the Truckstop portal if you make changes in Truckstop after posting.
Need Help?
For setup help or issues, email: [email protected]